Step 3: Prepare the Henna Cone
Whether you’re using a store-bought henna cone or making your own, make sure it’s well-prepared. The tip should be thin enough to create fine lines but not so small that the paste doesn’t come out smoothly. If you’re making your own, snip a tiny bit off the end of the cone.
Pro Tip: If the paste seems too thick, gently roll the cone between your hands to warm it up and loosen the paste.
Step 4: Start with Simple Outlines
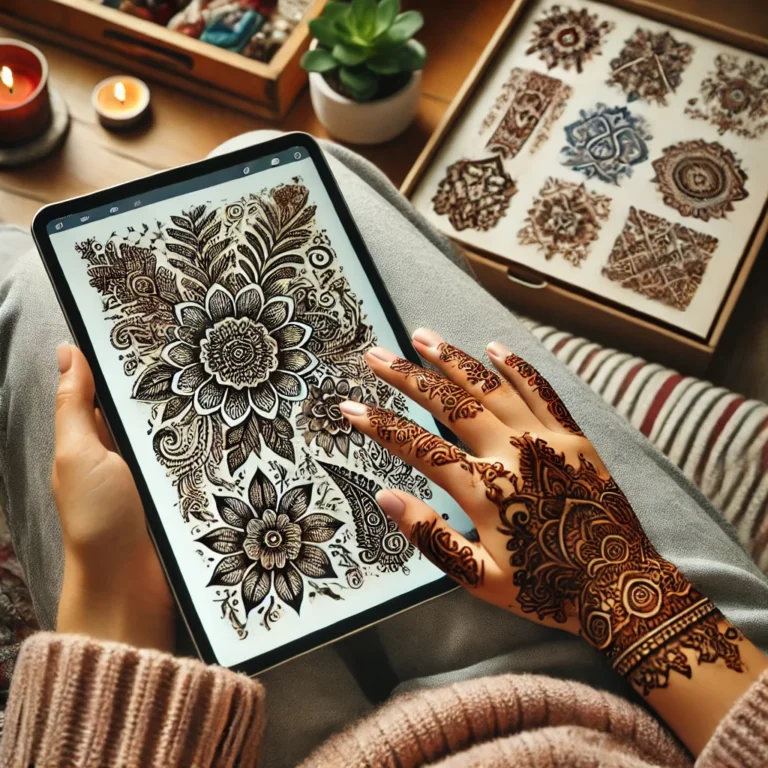
Start by drawing the basic outlines of your design. If you’re new, it’s best to begin with simpler motifs like flowers, paisleys, or geometric patterns. Once you’re comfortable, you can add more layers of detail. Focus on steadying your hand and creating clean lines. Intricate designs often involve small, repeating shapes, so patience and practice are key.
Step 5: Fill in the Details
Once you’ve got the outline down, start filling in the details. This is where intricate mehndi designs shine. Use thin lines to add patterns like dots, teardrops, and smaller shapes within larger motifs. The more time you spend on this step, the more detailed and beautiful the final design will be.
Step 6: Let It Dry
Allow the mehndi to dry naturally, which usually takes around 20-30 minutes. Avoid touching it during this time to prevent smudging. Once it’s dry to the touch, apply a lemon-sugar mixture to enhance the color and keep the mehndi moist. This will help deepen the stain and extend its longevity.
Step 7: Remove the Paste
Once your mehndi has dried completely (typically 4-6 hours, though overnight is better), gently scrape off the paste using a dull knife or the back of a spoon. Don’t wash it off with water right away. Instead, use a little olive or coconut oil to wipe away any residue.
Important: Avoid water for the next 12-24 hours to let the mehndi stain develop fully.
Step 8: Admire Your Work!
After a few hours, the design will darken, revealing the true beauty of your intricate mehndi design. With proper care, the stain will last for up to two weeks. Over time, as you practice more designs, you’ll gain confidence and create even more elaborate patterns.
Tips for Beginners:
- Practice on paper first: Before applying the mehndi directly on your skin, try drawing intricate designs on paper to get a feel for the patterns and steady your hand.
- Start small: Begin with simple designs and gradually increase the complexity as you become more comfortable.
- Watch tutorials: There are countless mehndi tutorials available online that can help you learn new techniques and tricks for creating intricate designs.
Final Thoughts
Creating intricate mehndi designs at home is both a rewarding and meditative process. Whether you’re preparing for a special occasion or simply want to express your creativity, following these steps will help you get started. With patience and practice, you’ll be able to master this beautiful art form and create breathtaking designs that showcase your skills.
Frequently Asked Questions (FAQs)
Q: How long does it take for intricate mehndi designs to fade?
A: The design typically lasts around 1 to 2 weeks, depending on how often you expose it to water and other factors.
Q: Can I practice intricate designs without a henna cone?
A: Yes! You can practice on paper or use temporary body paints to practice before trying henna.
Q: How do I ensure the color darkens properly?
A: Applying a lemon-sugar mixture, keeping the area warm, and avoiding water for 24 hours after removing the paste will help the stain darken and last longer.
This guide will help you get started with intricate mehndi designs, but remember, perfection comes with practice. So, keep experimenting with new patterns and techniques!

